

Discover the Latest Painting Trends to Transform Your Home In the world of residential painting,...
I know you recall PEMDAS, "Please Excuse My Dear Aunt Sally", from fifth grade math class to remember how to properly do math equations in order.
If I'm honest, I'm the very last person who should be mentioning anything math-related, let alone bring up PEMDAS.
However, similar to having to excuse whatever the hell aunt Sally did, painting a room has its own strict order of operations: skip a step or do it out of sequence, and the whole project gets messier than a bad fraction.
You already picked the perfect color in the room that gets the best sunlight. You watched all the YouTube videos, bought the roller with the good nap, and the brush that promised no shedding. None of that is going to work for you if you start out of order.
To get crisp lines and a flawless finish, professional crews stick to a non-negotiable formula. Here is Mojo's Painters’ PEMDAS, the exact 6-step sequence for painting a room in the correct sequence the first time.
Whether you’re repainting a suburban colonial in Collegeville or updating a single room on the weekend, painting has its own strict order of operations: skip a step or do it out of sequence, and the whole project gets messier than a bad fraction.
P – Room Prep: Protect & Patch
Cover your floors with heavy canvas drop cloths before cracking open a single paint can. It doesn't matter how steady you think your hand is, paint drips hit hardwood and carpet instantly.
Fill nail holes, cracks, and dented drywall with spackle. Sand those patched areas smooth once the compound dries so your wall surface stays flat under fresh paint.
Knocking this out early gives the filler time to dry while you move to the next phase.
E – Edges First: Painting Ceilings & Trim
Walls go last in every single room. Paint your baseboard trim and ceilings to completion before touching the main wall surfaces. Roller spray falls downward and ceiling paint splatters sideways when you go too fast.
Finishing the top and bottom surfaces first lets stray splatters land on bare drywall.
The order between trim and ceiling doesn't matter as long as you finish both before the main wall color comes out.
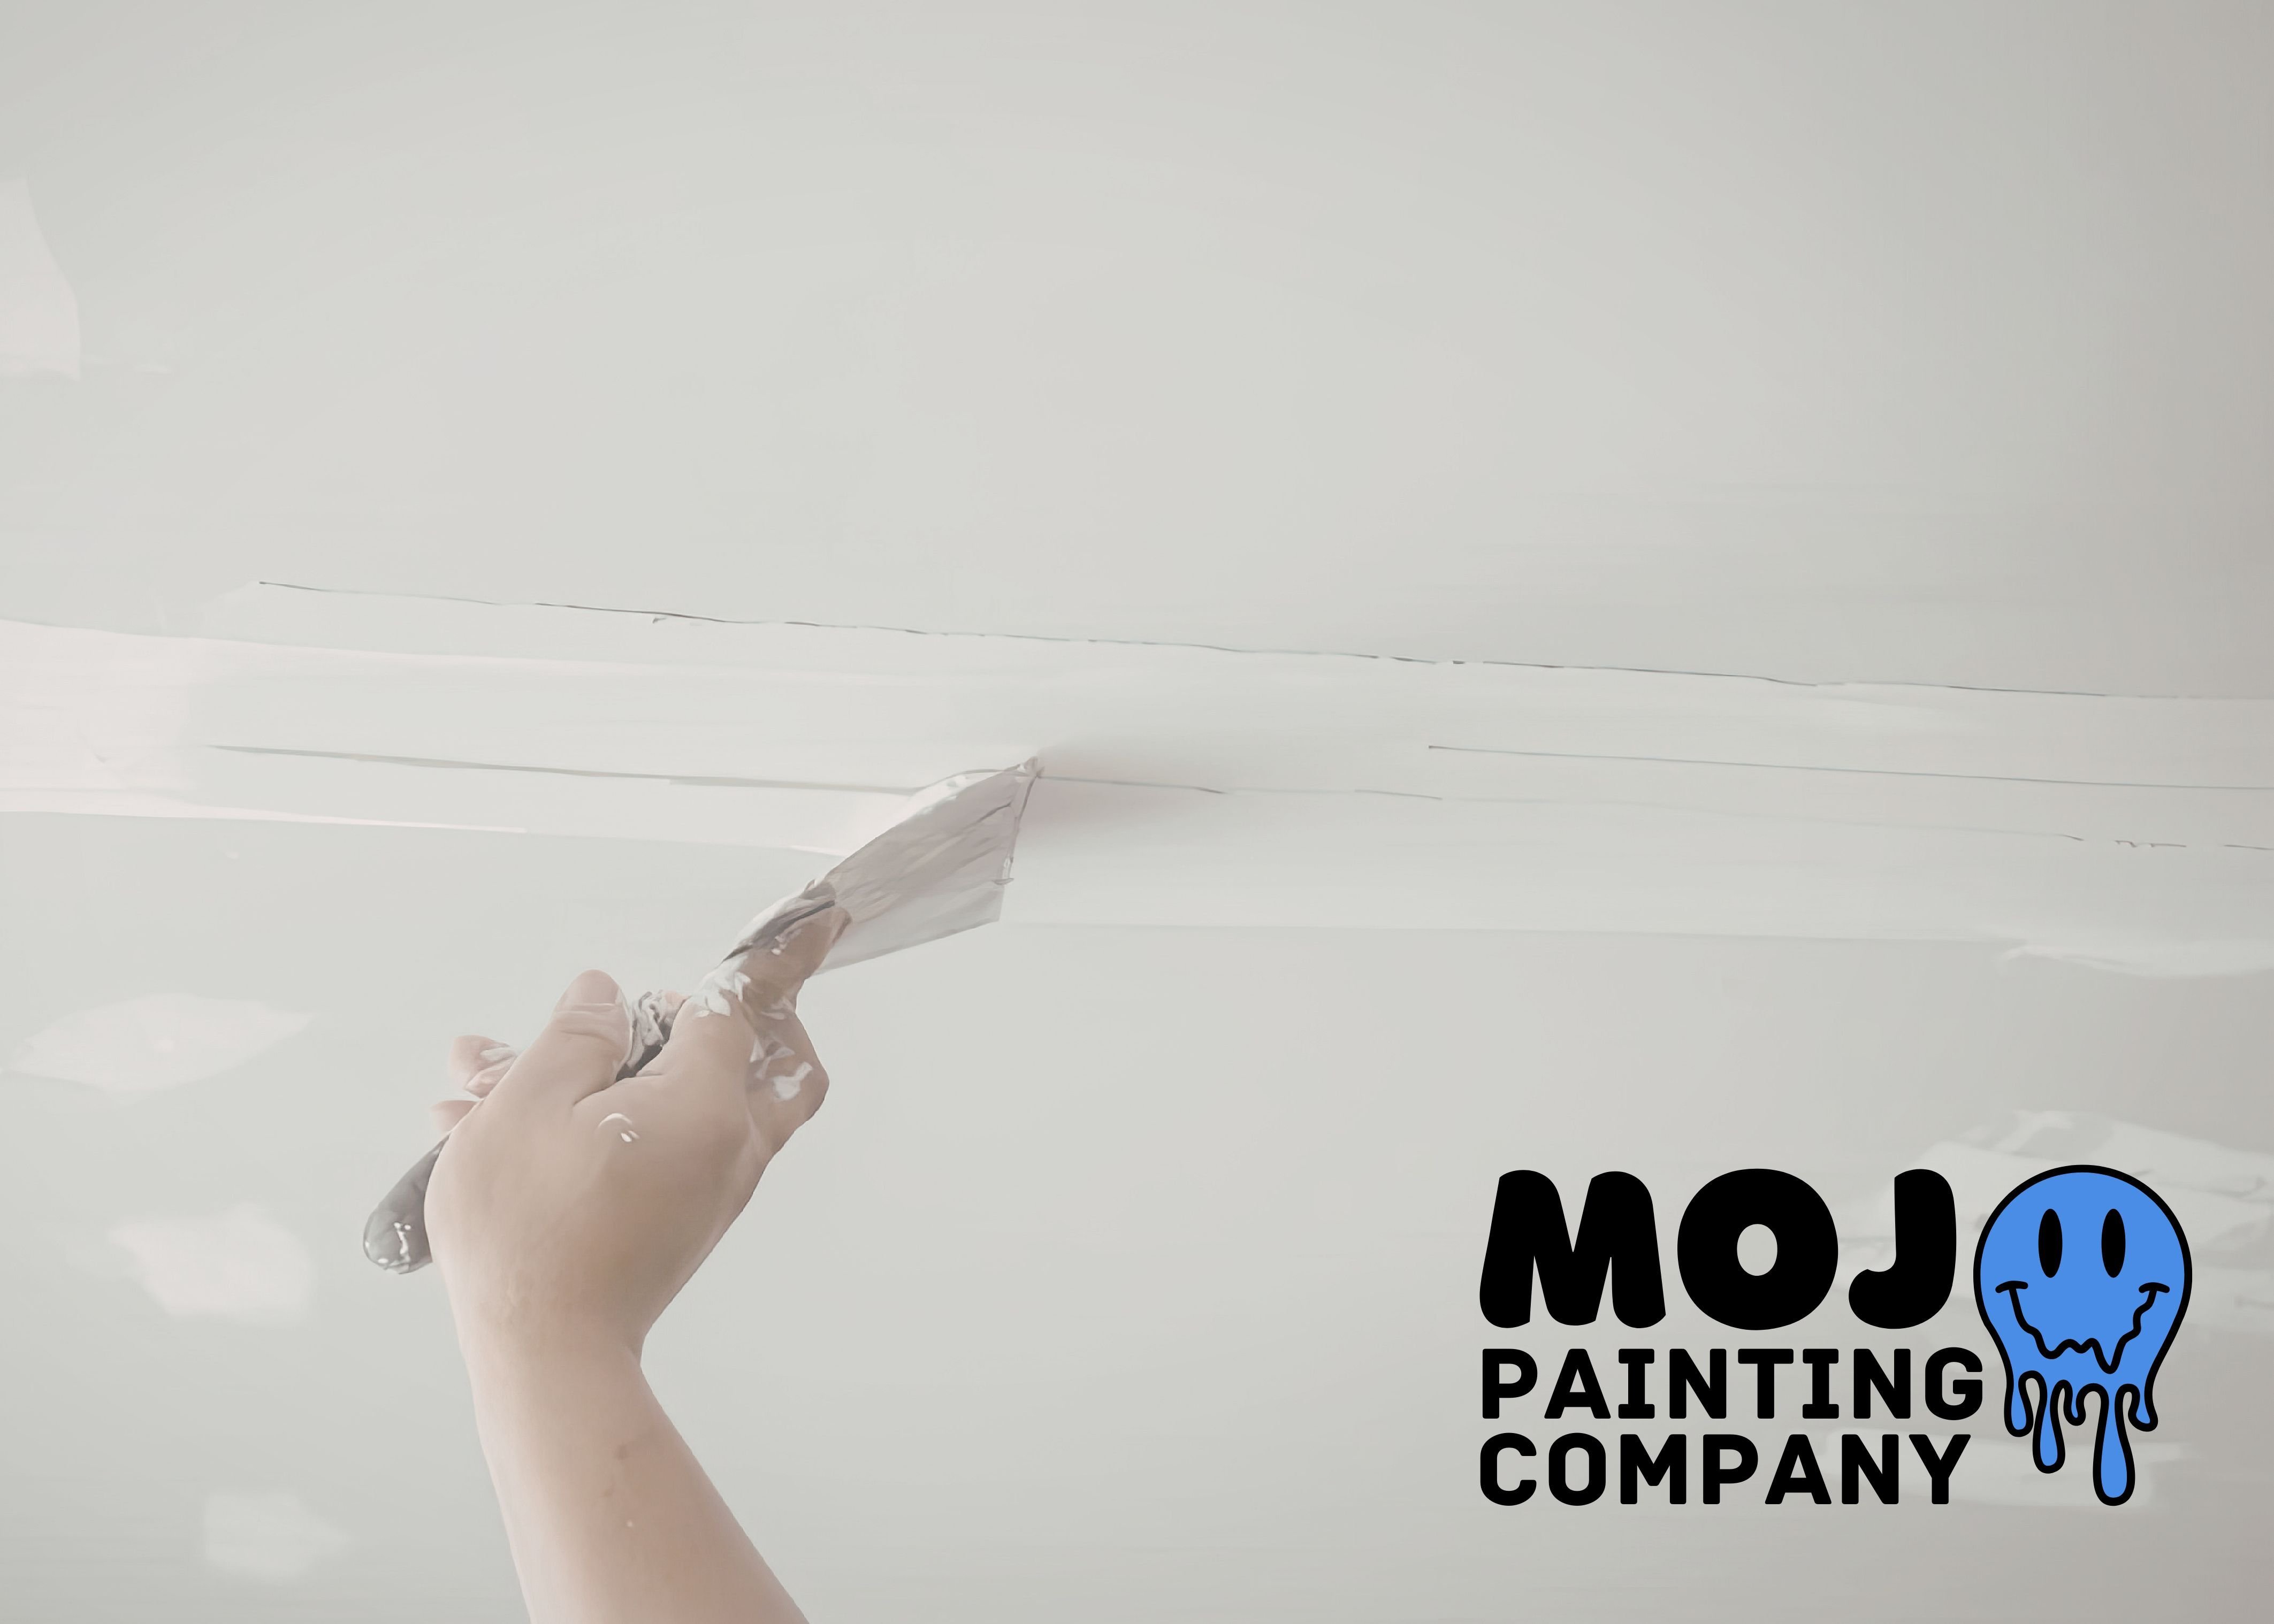
M – Margin Overlap: The Color Cushion
Don’t waste time trying to stay inside the lines yet. Let your trim paint bleed an inch onto the bare drywall, and drag that ceiling paint right down past the top corner.
Think of it as "sloppy on purpose" overlap to create a solid color cushion along every seam.
When you come back to cut in your wall paint, whether freehanding with a sash brush or using painters' tape, you’re slicing against a thick, uniform base instead of bare drywall.
D for Drywall Spot Priming: How to Prevent Paint Flashing
Before you roll the wall color, go back over every spot you filled with spackle or compound and roll a little wall paint onto it. Just target those patched spots for now, not the whole wall yet.
You will notice if you skip this step. Spackle soaks up paint differently than the rest of the wall, and in direct sunlight, those patched spots will flash through even after a full coat.
Priming those patches first lets the paint sit evenly across the entire surface instead of sinking in unevenly.
A for Apply Wall Paint: Cuting Edges + Rolling Walls
Cut your border lines high against the ceiling, low along the trim, and around every bare outlet. Grab your paint roller immediately while those cut edges stay wet and workable. Keeping paint loaded on your brush prevents streaks and thin patches along the borders.
Roll the main field in steady overlapping passes so your brushed borders blend straight into the rolled surface.
Give the wall as many coats as it needs, especially if you are covering a dramatic color change.
S for Sheen and Settle: Pick Your Finish
Ceilings are almost always flat. The exception is a bathroom with a shower or tub, where you want something with a little more sheen, like a matte or satin, to hold up against moisture. A powder room with no shower can stay flat.
Trim is almost always semi-gloss. That's the standard.
Walls are more flexible. Matte and satin are the most common picks. If your walls have rough or uneven texture you'd rather not draw attention to, flat is your friend. It hides more than any other finish.
Things to Remember- Fresh Paint Drying vs. Curing: Wait 24-48 Hours Before Rehanging Decor
Once the walls are done, let everything dry for 24 to 48 hours before you put outlet covers, art, or furniture back against them. Rushing the final step is how you end up with a dent in fresh paint or a sticker mark that never quite comes out.
Prep, Edges, Margin Overlap, Drywall Spot Priming, Apply Paint & Sheen + Settle. Skip a step and you'll notice later, often right when the sun hits the wall at the exact wrong angle.
If the idea of doing all of this on a ladder for three weekends in a row sounds like less fun than it did an hour ago, that's what we're here for.
Mojo Painting Company handles the prep, order, and cleanup for homeowners across Collegeville, Phoenixville, and Montgomery County—so you just pick the color.

